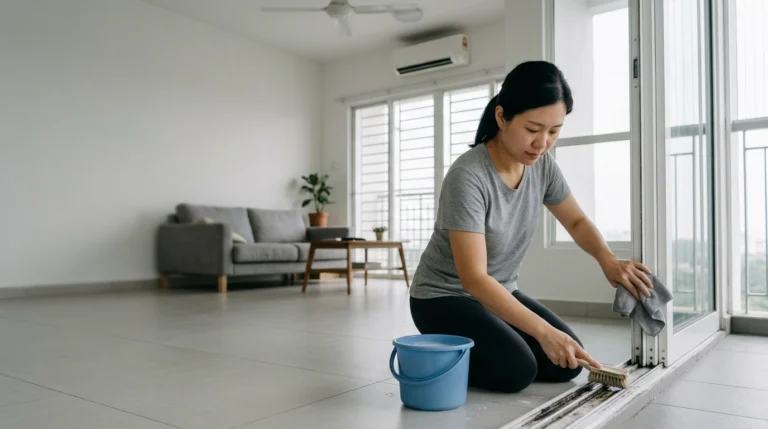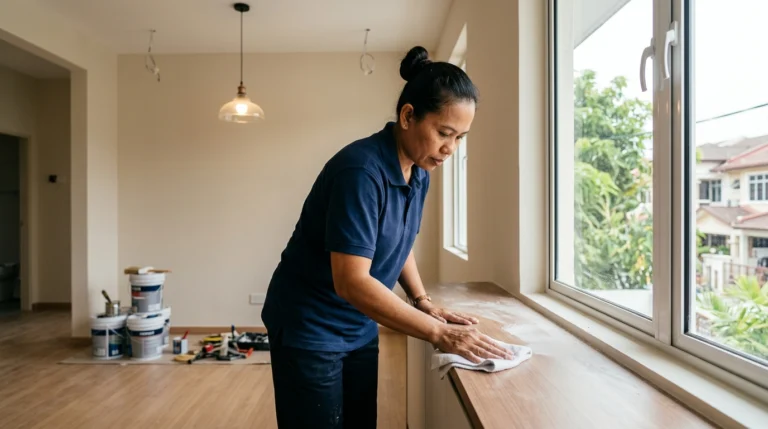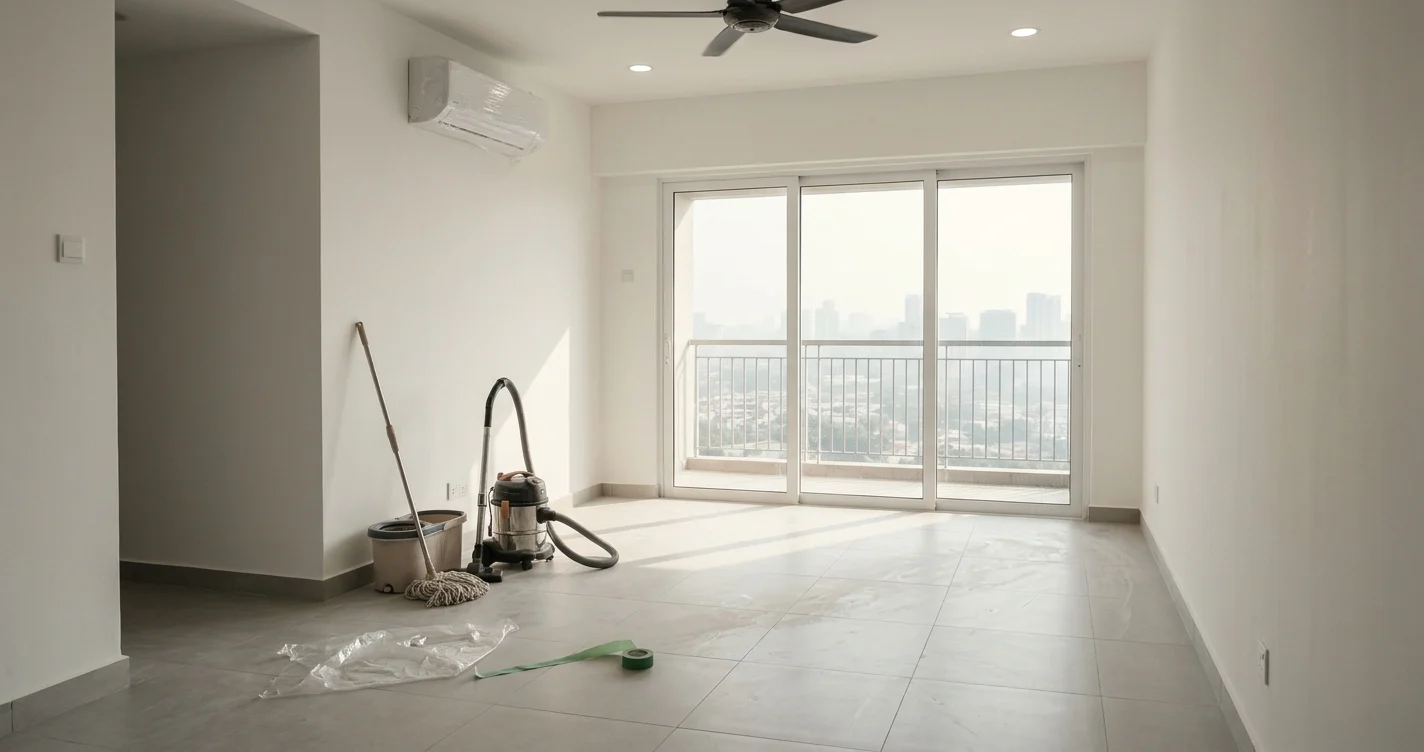
A post renovation cleaning checklist works best in a fixed order: confirm the contractors are truly finished, clear the debris, ventilate, then clean from the top down and from dry to wet, with ceilings and fans first and floors last. Expect to clean some surfaces more than once, because fine dust keeps settling for days after the first pass.
This guide gives you that order, a room-by-room checklist you can tick off, and a short list of tricky marks (paint, cement, stickers and grout haze) with what to do about each. It is written for Malaysian homes: condos, terrace houses, semi-Ds and bungalows with tiled floors, sliding windows, wet kitchens and balconies.
Table of Contents
Is the Renovation Actually Finished? A Readiness Check
Cleaning too early is the most common mistake. If a carpenter returns to adjust a cabinet door or a painter comes back for touch-ups, you will be dusting the same shelves again.
Before you clean, confirm each of these with your contractor:
- All painting, including touch-ups, is done and dry
- Tiling and grouting are finished and cured
- Carpentry, cabinets and wardrobes are installed and adjusted
- Plumbing and electrical work is finished and tested: taps, flush, drains, lights, switches and sockets
- Aircon units and any ceiling or wall drilling are completed
- The contractor has taken away their tools, leftover materials and bulky waste
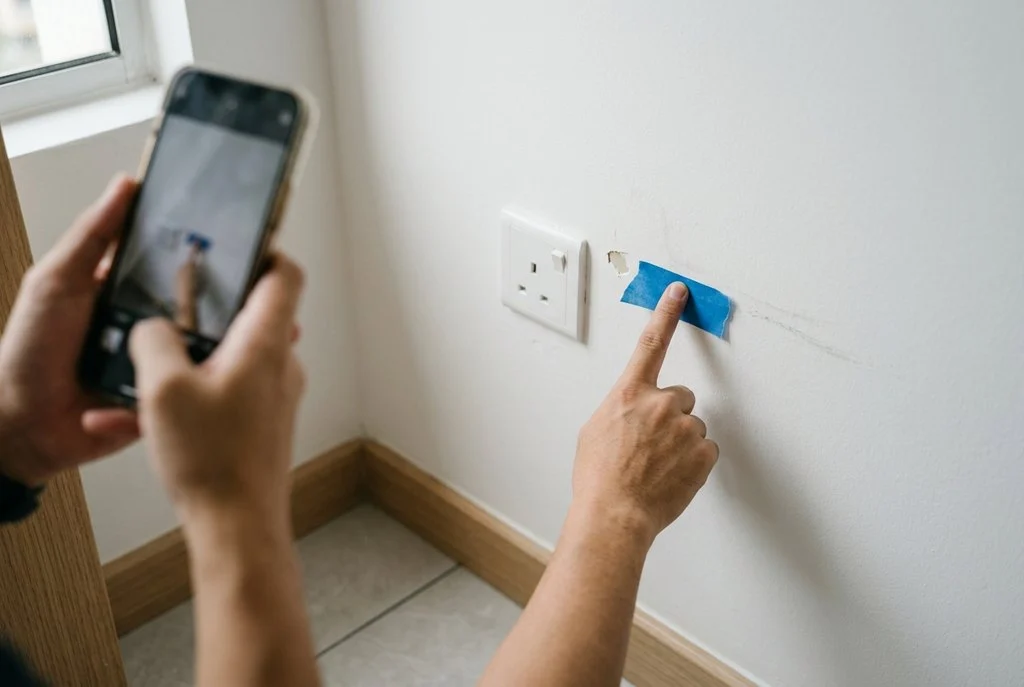
- A defect walk-through has been done with the contractor, and anything to fix has been listed
Do the defect walk-through before you clean, not after. Once cleaning starts, it gets harder to tell whether a scratch or a stain was left by the contractor or the cleaners. Photograph problem areas and mark them with painter’s tape, then ask the contractor to fix them first.
If you live in a condo, check your management office’s rules. Many condos require renovation work to be signed off or inspected, and may limit the hours when cleaners, bulky waste removal and lift use are allowed.
Who Does What: Contractor, Cleaner and You
Disagreements usually come from unclear responsibilities. Agree on this before the job ends:
| Task | Contractor | Cleaner | You |
|---|---|---|---|
| Remove bulky waste: leftover tiles, wood, cement bags, offcuts | ✔ | ||
| Remove tools, ladders and scaffolding | ✔ | ||
| Coarse sweep and removal of large debris | ✔ | ||
| Fine dust removal, wiping, vacuuming and mopping | ✔ | ||
| Removing paint, cement and adhesive marks | Rough removal | Final removal | |
| Cleaning inside empty cabinets and wardrobes | ✔ | ||
| Defect inspection and sign-off | ✔ | ✔ | |
| Moving valuables and fragile items | ✔ | ||
| Utilities on: water and power | ✔ |
A general cleaner cannot, and should not be expected to, haul away leftover building materials. Ask your contractor to clear them before the cleaning date.
What You Need Before You Start
Safety
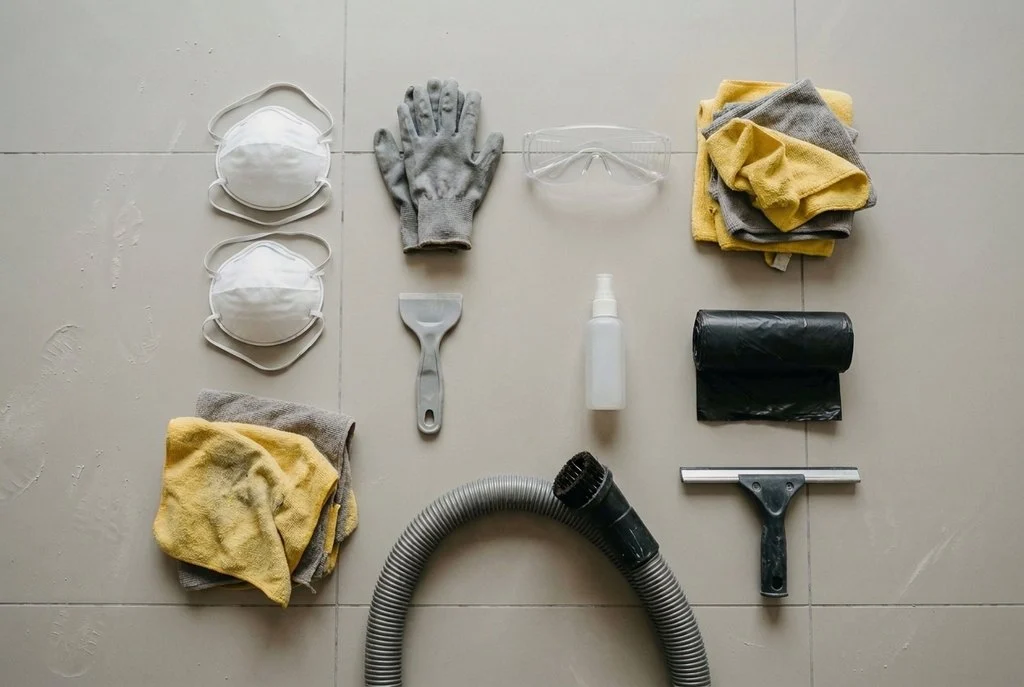
- Dust masks rated N95 or KN95 (a basic surgical mask does not filter fine dust well)
- Gloves and closed shoes
- Eye protection if you are scraping or working overhead
Cleaning
- A vacuum cleaner, ideally with a fine-dust or HEPA filter, and spare bags or filters
- Microfibre cloths, plenty of them
- Two buckets, so you can keep rinse water separate from cleaning solution
- A soft broom, a squeegee for glass, and a mop
- Plastic scrapers and a razor scraper for stickers and paint on glass
- Mild detergent, glass cleaner, and a degreaser for the kitchen
- Rubbish bags, a step ladder and fans for ventilation
Things to avoid
- Acidic cleaners (vinegar, descalers, tile acid) on natural stone such as marble or on freshly laid cement grout, which they can etch or weaken
- Mixing cleaners. Never mix bleach with vinegar, ammonia or acidic products
- Dry sweeping fine dust, which just lifts it back into the air
- Wetting dust first. In Malaysia’s humidity, wet fine dust turns into a sticky film that is far harder to remove than dry dust
The Order of Work
Follow this order, and you will clean each area once instead of redoing it:
- Ventilate. Open windows and doors where safe, and run fans to move air outside.
- Remove large debris and coverings. Take off plastic sheets, tape and floor protection slowly, folding the dusty side inwards, then bag them.
- Work top down. Start with ceilings, ceiling fans, light fittings and the tops of cabinets, then walls, then lower surfaces.
- Dry before wet. Vacuum and dry-wipe each surface before using water.
- Clean the insides. Wipe inside cabinets, drawers and wardrobes before you put anything in them.
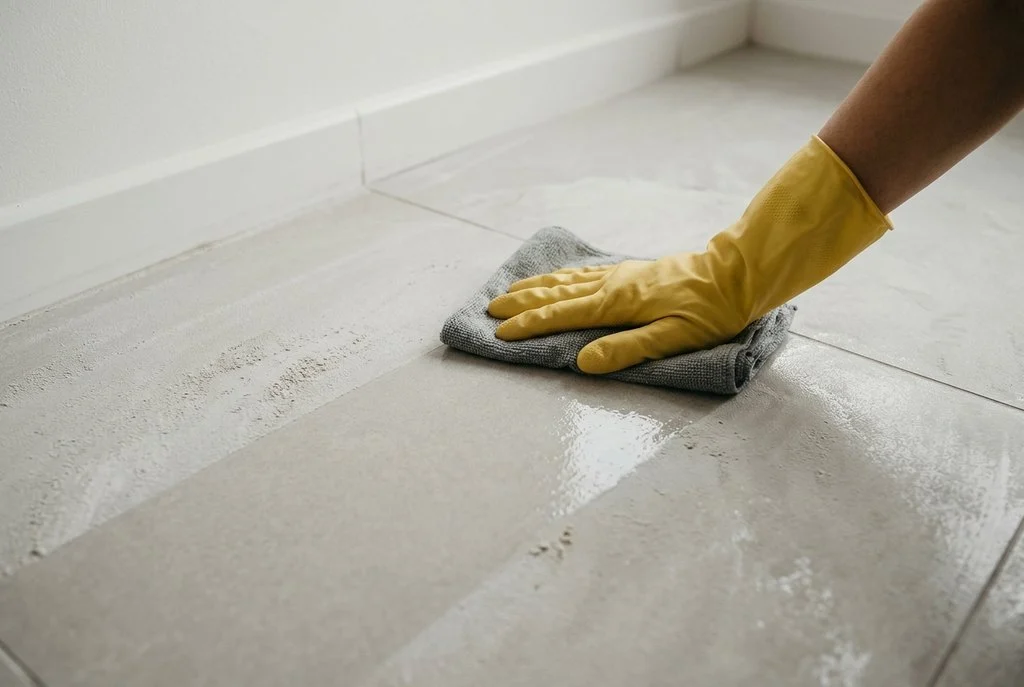
- Do floors last. Vacuum thoroughly, then mop. Change the water often. Dirty water just spreads fine dust around.
- Work toward the exit. Move from the room furthest from the door to the one nearest it, so you do not walk dust over clean floors.
Room-by-Room Post Renovation Cleaning Checklist
Whole home (do first in every room)
- Ceilings, corners and cobwebs
- Ceiling fans (blades, motor housing and the top surface)
- Light fittings, downlights and switch plates
- Aircon units: exterior casing and vent grilles. Do not open or wash the unit yourself unless you know how, and keep the filters covered during dusty work.
- Walls: gently dust, then spot-wipe only where needed. Do not scrub fresh paint.
- Doors, door frames, handles and skirting boards
Living and dining areas
- Windows: glass, frames and sliding tracks
- Window grilles and safety grilles
- Built-in shelves, TV console and display cabinets (inside and out)
- Behind and under any furniture that has already moved in
- Floors: vacuum, mop, then check corners and edges
Bedrooms
- Wardrobes: empty shelves, rails and drawers wiped inside and out
- Bed frames and built-in headboards
- Window tracks and curtain rails
- Mattress: keep covered until cleaning is finished
- Floors, including under the bed
Kitchen (wet and dry)
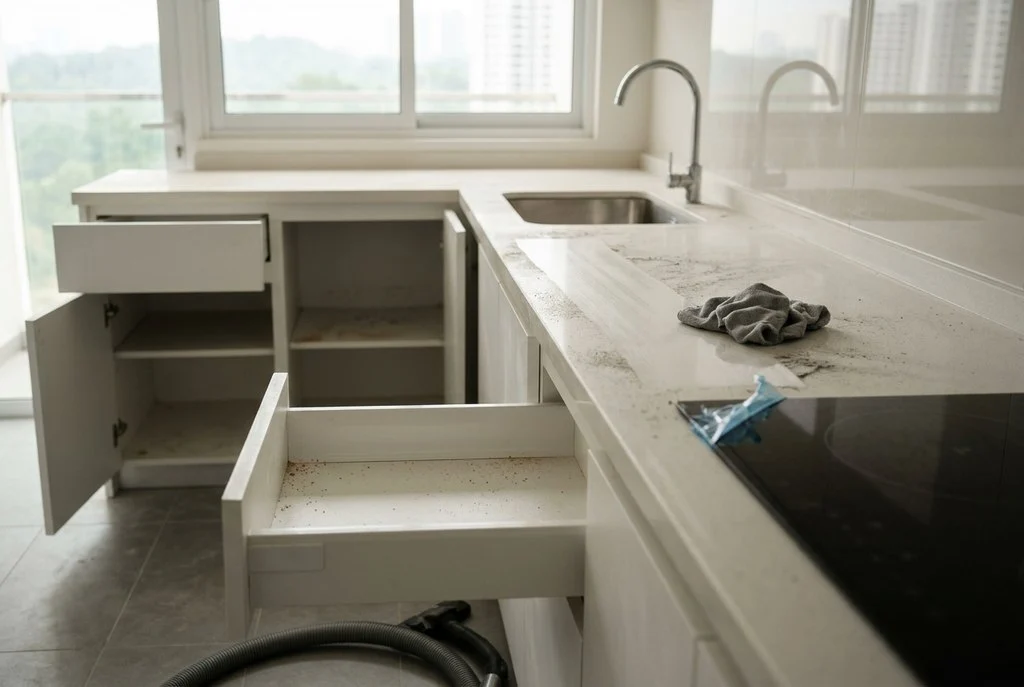
- Cabinets: inside, outside, drawers and the tops
- Countertops and backsplash
- Sink, taps and drain. Remove any debris from the drain strainer.
- Hob and exhaust hood: check for dust, paint and silicone marks
- Appliances: wipe the outside and remove any protective film
- Wet kitchen floor, floor drain and any floor trap
- Walls and tiles near the cooking area
Bathrooms
- Toilet bowl, cistern, seat and behind the toilet
- Basin, taps and vanity cabinet
- Mirror and glass shower screen: remove stickers and film carefully
- Wall and floor tiles, grout lines, and silicone edges
- Shower head, spray and floor drain
- Door and exhaust fan cover
Balcony, yard and utility areas
- Balcony floor, railings and sliding door track
- Service yard, drying area and floor trap
- Outdoor sockets and light fittings
- Cabinet or storeroom shelves
Entrance and corridors
- Main door, grille, doorbell and door frame
- Shoe cabinet inside and out
- Floor and skirting boards
Floors by type
| Floor | Tip |
|---|---|
| Ceramic or porcelain tile | Vacuum first, then mop. Check grout lines for cement film. |
| Vinyl or laminate | Avoid soaking. Use a damp (not wet) mop to prevent edges from swelling. |
| Timber or engineered wood | Dry vacuum, then lightly damp mop. Do not use excess water or strong chemicals. |
| Marble, granite or natural stone | Use a pH-neutral cleaner. Avoid acids and test a small area first. |
| Polished concrete or cement screed | Vacuum thoroughly. Follow the installer’s advice on cleaners and sealers. |
Tricky Marks and How to Handle Them
| Problem | What to try | Warning |
|---|---|---|
| Protective film and stickers on glass, fixtures or appliances | Peel slowly at an angle. Warm the sticker lightly with a hairdryer if needed. Wipe glue with a mild detergent or a suitable adhesive remover. | Do not use a blade on tinted film, coated glass or stainless steel finishes |
| Paint splatters on glass or tile | Soften with warm soapy water, then lift with a plastic scraper. On glass, a razor scraper held flat works. | Do not scrape painted walls, timber or natural stone |
| Cement or grout haze (a white film on tiles) | Dry-wipe first, then use a damp microfibre cloth. A tile-safe haze remover may be needed for stubborn film. | Acid-based removers can damage grout, stone and metal fittings. Test first and follow the label. |
| Silicone residue | Remove excess with a plastic scraper once cured, then wipe with a suitable silicone remover. | Fresh silicone smears. Wait until it cures. |
| Adhesive and tile glue | Soften and lift gently with a scraper. | Do not force it. You may scratch the surface. |
| Sawdust and fine plaster dust | Vacuum first, then wipe with a damp cloth. | Do not wet thick layers of dust. |
| Stains on laminated cabinets or counters | Mild detergent and a soft cloth. | Avoid abrasive pads that dull the finish |
When to stop and ask a professional: if a mark does not respond to gentle methods, do not escalate to harsher tools or chemicals. A permanent scratch or etch is worse than a faint mark. Cement or paint that has fully hardened on natural stone or coated surfaces is a good example of a job to hand over.
The Second Pass and Final Walk-Through
Fine dust that was floating in the air during cleaning will settle, so a second pass is normal.
Second pass
- Wait until the dust has had time to settle, for example overnight
- Dry-wipe the highest surfaces again, then lower ones
- Vacuum and mop the floors one more time
Final walk-through
- Look across glass and tiles in angled light or with a torch to spot haze and smears
- Open every drawer, cabinet and wardrobe to check inside
- Check window tracks and drains for leftover debris
- Run the taps and flush the toilets to make sure they drain properly
- Check aircon filters and vents for dust
- Look for missed spots along skirting boards, door frames and behind doors
- Take “after” photos
For the health side of dust, ventilation and when it is reasonable to move furniture back and sleep in the home, see our guide to post-renovation cleaning in KL.
Should You Do It Yourself?
Cleaning after a renovation is slower and harder than cleaning an ordinary home. The dust is fine, it gets everywhere, and it takes several rounds to clear. As a rough guide, allow at least a full weekend even for a small unit, and more help for larger ones.
DIY makes sense when the unit is small, the renovation was light (such as painting and minor carpentry), you have the right equipment, and you have time. Hiring help makes more sense when the renovation was major, the property is large, you need to move in by a deadline, or you have health concerns such as asthma or dust allergy (if so, speak to a doctor first).
If you hire someone, ask these questions:
- Do you arrive after the contractors have left, or do you work alongside them?
- Is the price fixed, or based on floor area? What affects it?
- Do you bring your own vacuum, tools and products?
- Do you clean inside cabinets, window tracks and balconies?
- Do you remove leftover building materials, or only dust and small debris?
- What happens if something is missed?
How Top Clean & Clear does it:
Our crews start once the contractors have left and renovation dust is removed before floors are vacuumed and mopped (post-renovation cleaning service).
Frequently Asked Questions
What should be done first when cleaning after renovation?
Make sure the contractors have finished, bulky waste has been removed and any defects are listed. Then ventilate the home and start cleaning from the top, working down to the floors.
How many times should you clean after renovation?
Usually at least twice. The first pass removes the bulk of the dust and residue. A second pass picks up fine dust that settles afterwards.
Can I clean after renovation myself?
Yes, if the unit is small and the renovation was light. Allow plenty of time, use dust masks, and work dry before wet. For major renovations or tight move-in dates, many people hire help.
How do you remove cement or grout haze from tiles?
Start with dry removal and a damp microfibre cloth. For stubborn film, use a tile-safe haze remover and follow the label. Avoid acidic products on natural stone and fresh grout, and test a small area first.
What is the best order to clean a house after renovation?
Ventilate, remove coverings and debris, clean ceilings and fans, then walls, doors and windows, then cabinets and wardrobes, and finally floors. Work from the room furthest from the door toward the exit.
Who is responsible for removing renovation debris?
Normally the contractor, who should remove bulky waste and leftover materials. Cleaners deal with fine dust and residue, and general cleaners do not usually haul away building materials. Confirm this in writing before the job ends.
When can I move furniture back in?
After the main cleaning and a second dust pass, once surfaces and floors are dry and the dust has settled. Our KL post-renovation guide covers timing and health considerations in more detail.
In Short
After a renovation, confirm the work is really finished and list any defects before you clean.
Then ventilate, work from the top down and from dry to wet, go through each room with the checklist above, handle cement haze, paint and stickers gently, and do a second pass once the dust has settled. Do it yourself for a small, light job; for a major renovation or a tight move-in date, hire help and agree in writing who removes the debris.